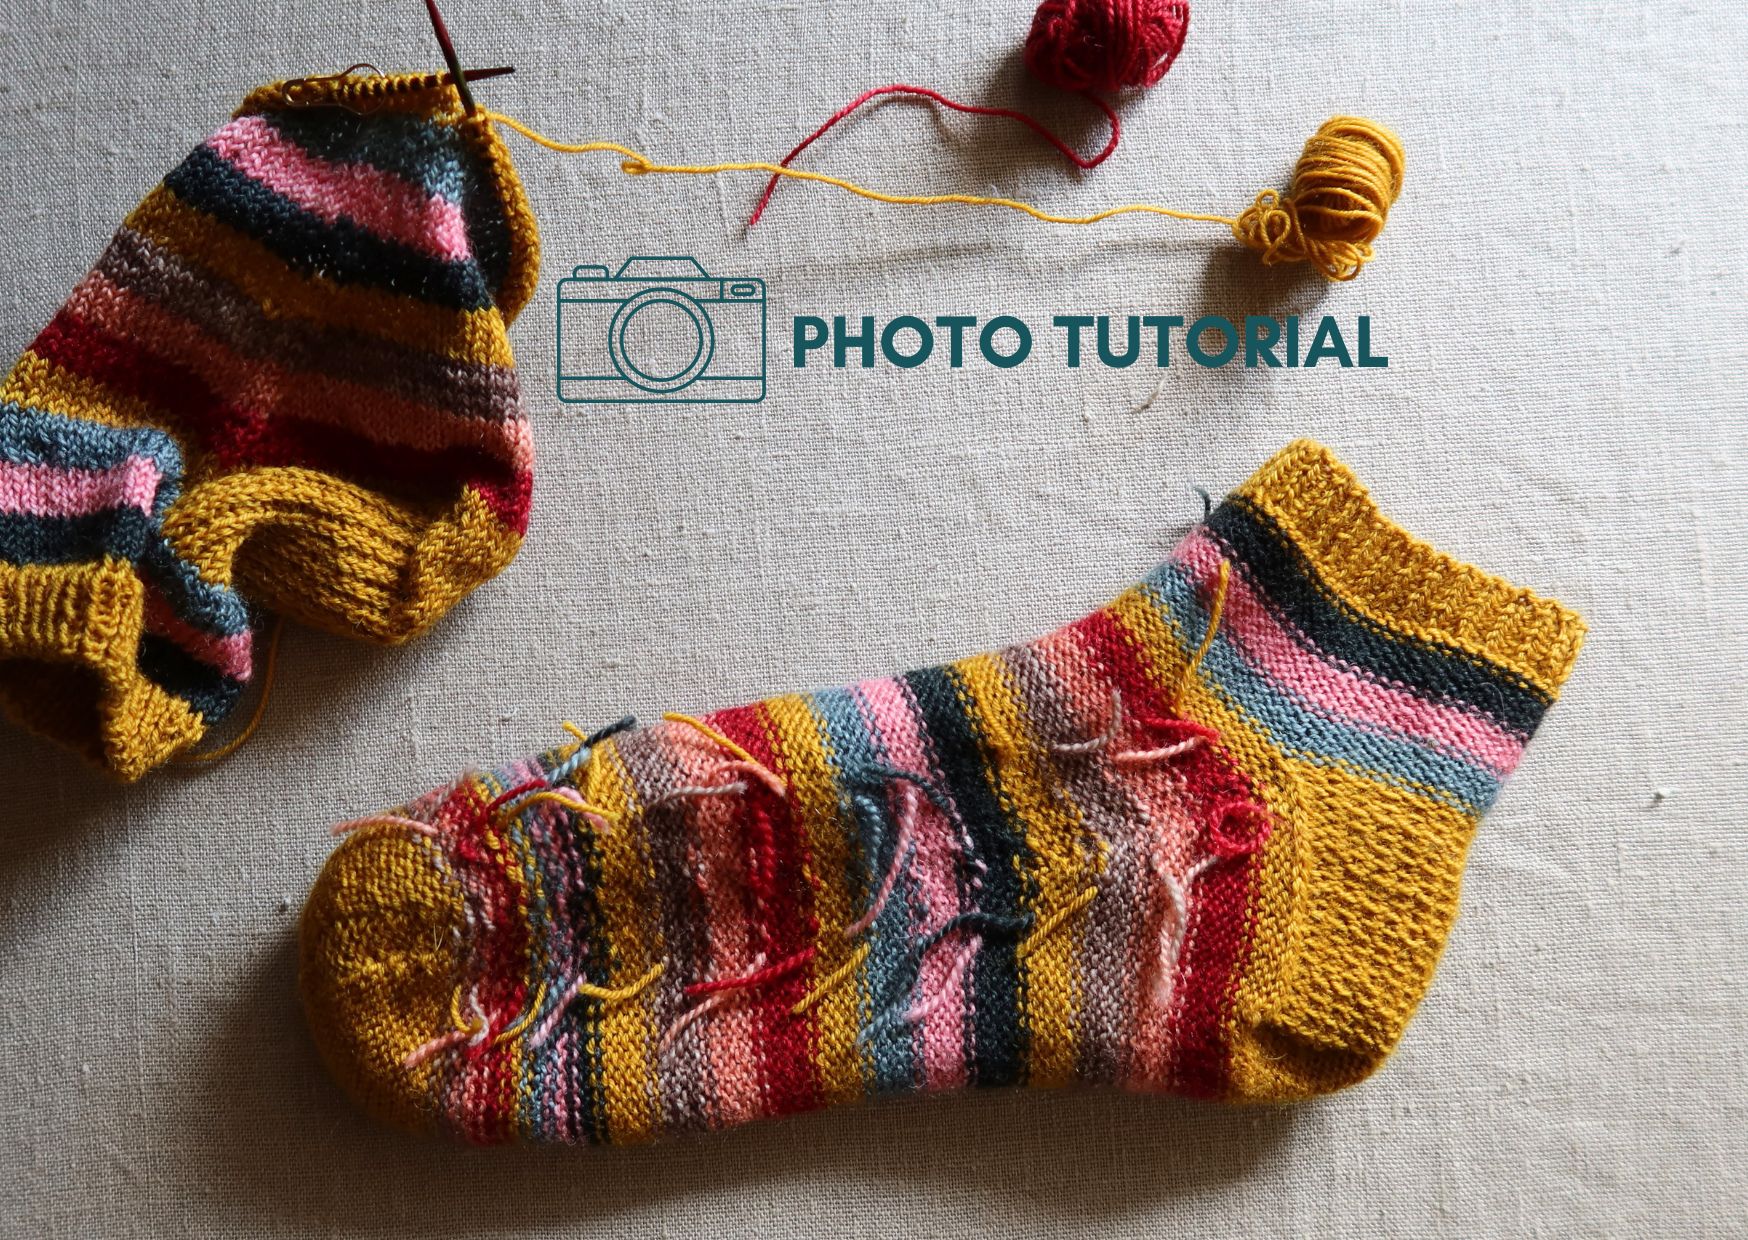
For many people, the worst thing about knitting with lots of colours is having to weave in all those pesky yarn tails at the end of the project.
What if I told you there is a ‘no sew’ way of securely changing yarn colours for knitting in the round and mid-row (rounds and rows) and it also works when you have to add a new ball of yarn in?
Yup, you read that right.
I developed this technique years ago and it has been tried and tested in many a sock that has been worn up mountains, through bogs and harsh conditions in walking boots (see photos at the end of the blog post). The result is a secure colour change that requires no ends to be woven in and is durable. It is great for any knitting project that uses stocking stitch.
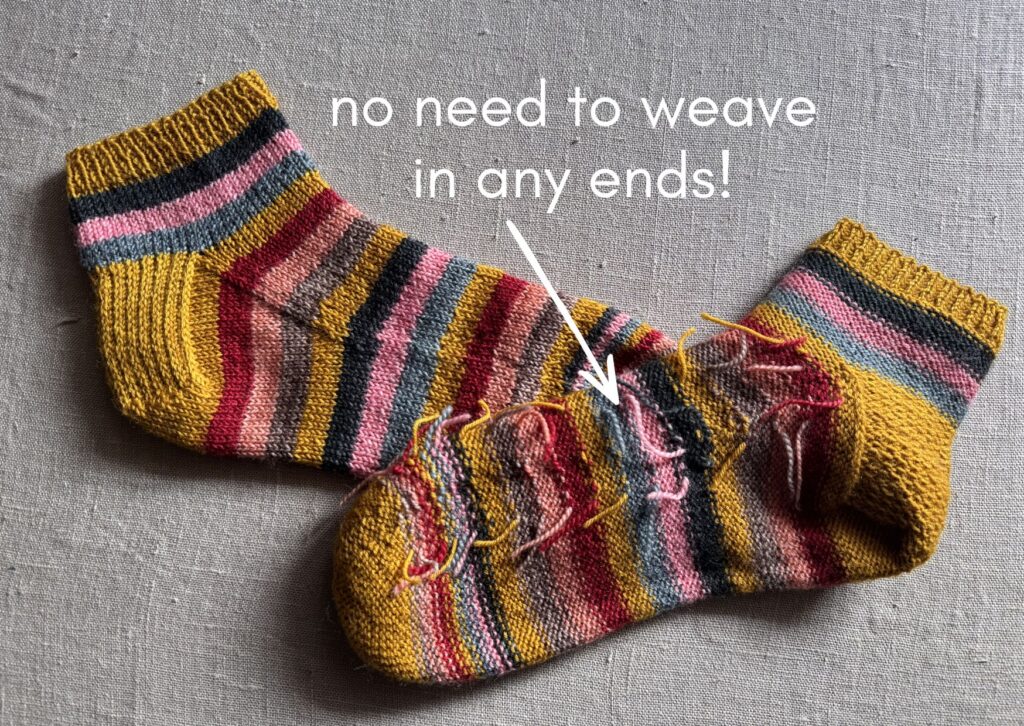
Yarn Colour Change ‘No Sew’ Method
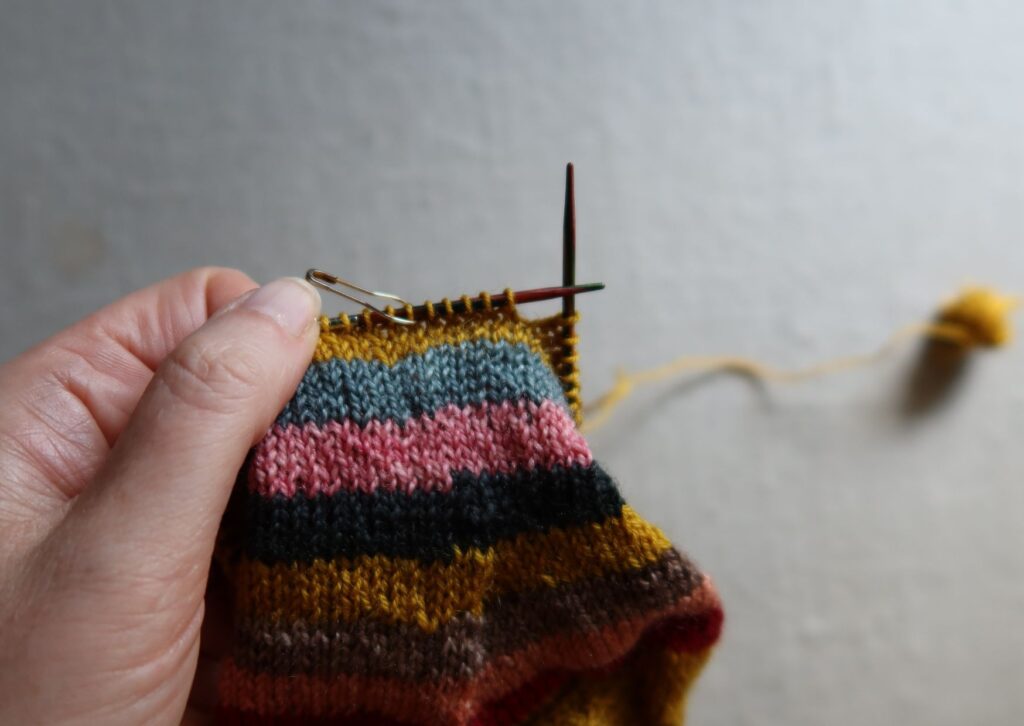
Step 1 – Stop 5 stitches before new ‘incoming yarn’ is required. For my example, I am 5 stitches away from the end of the round, when I need to change from the yellow yarn which is my ‘outgoing yarn’.
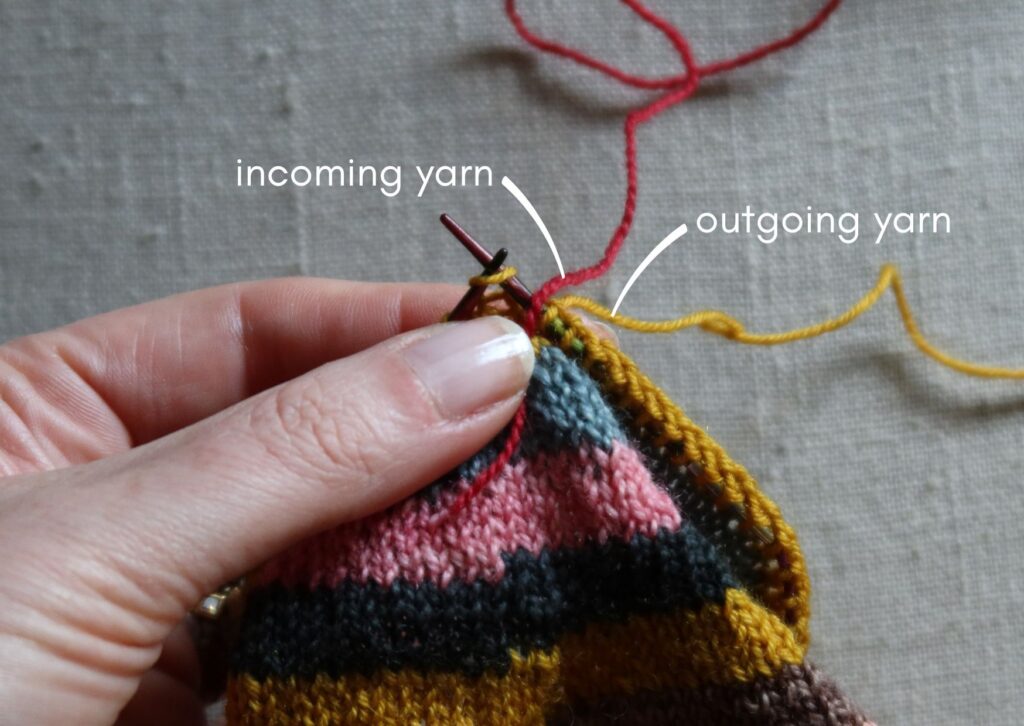
Step 2 – Place a 2.5cm/ 1″ tail of the incoming yarn (my red yarn) between the last stitch made and the next stitch to be knitted. The incoming yarn tail should be pointing towards you. This motion is easier if the needle is already in the next stitch ready to knit.
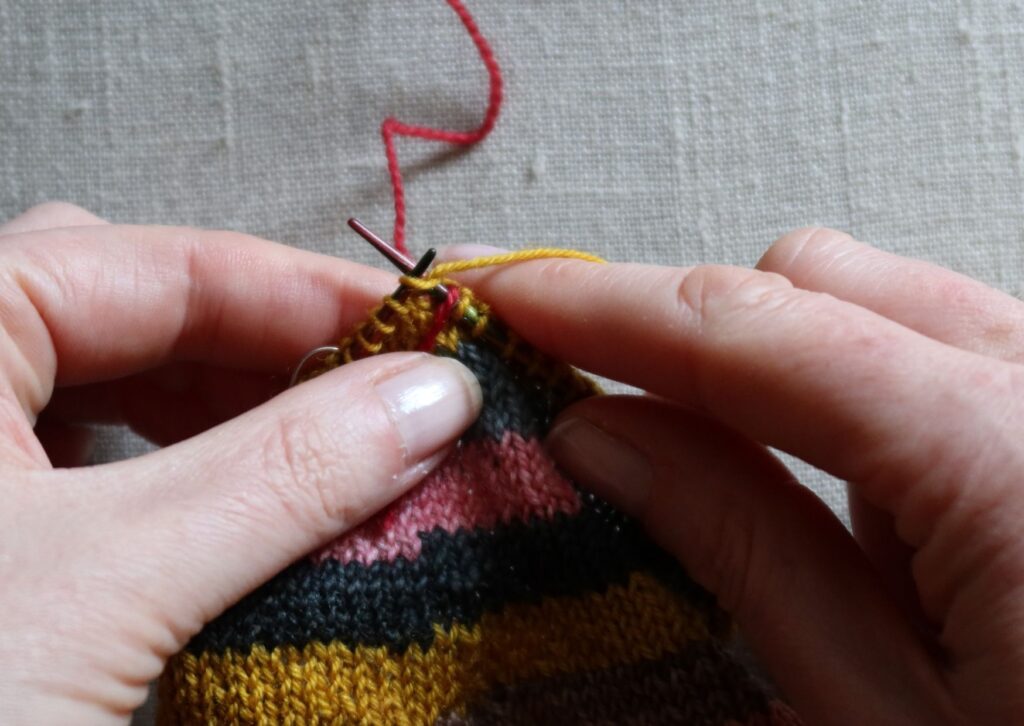
Step 3 – Hold the incoming yarn tail down with your thumb and knit the next stitch. This will trap down the tail of the incoming yarn on the wrong side of your work.
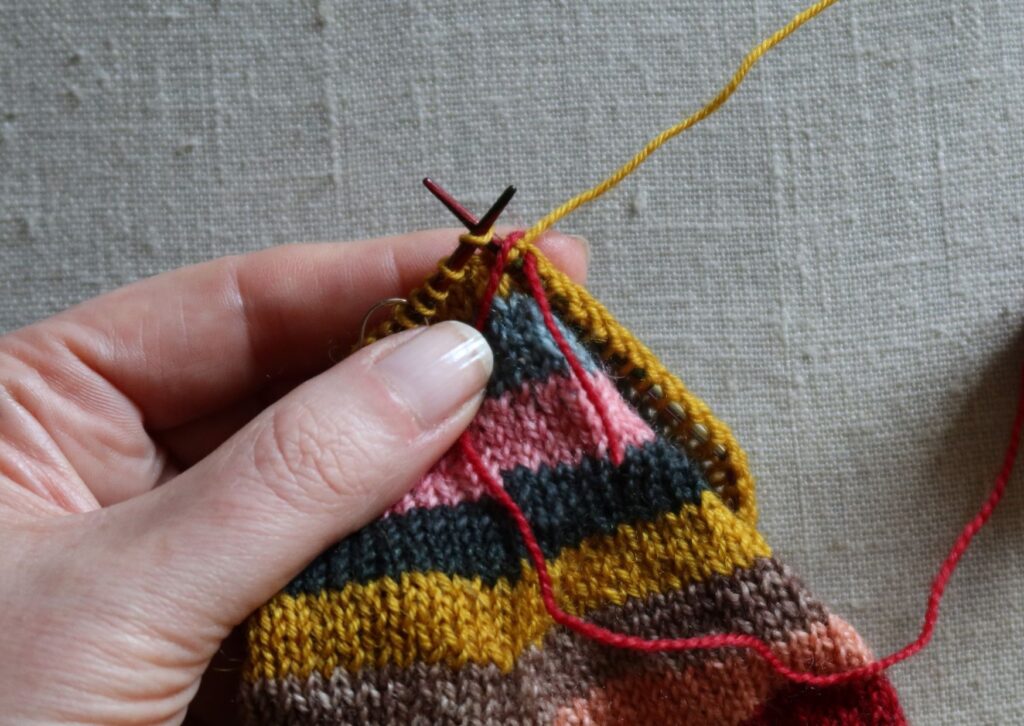
Step 4 – Place needle through the next stitch ready to knit, bring incoming yarn (the length attached to the yarn ball, not the 2.5cm tail) to front of work and hold in place with your thumb, finish knitting the stitch.
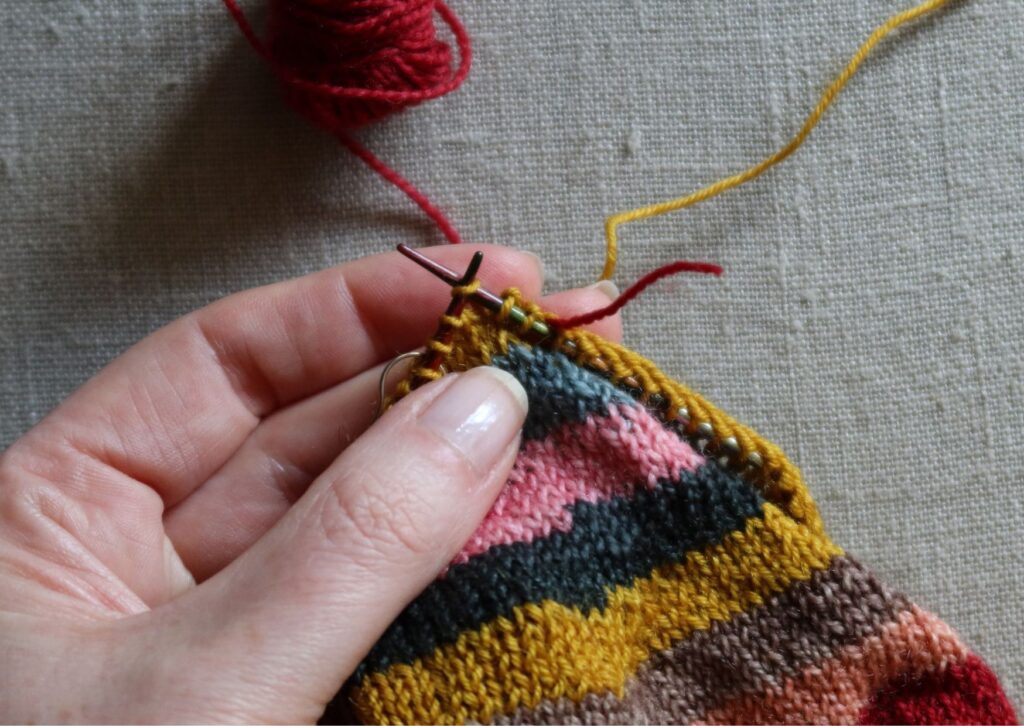
Step 5 – Repeat Step 4, but this time the incoming yarn will be taken to the back of your work to be trapped down.
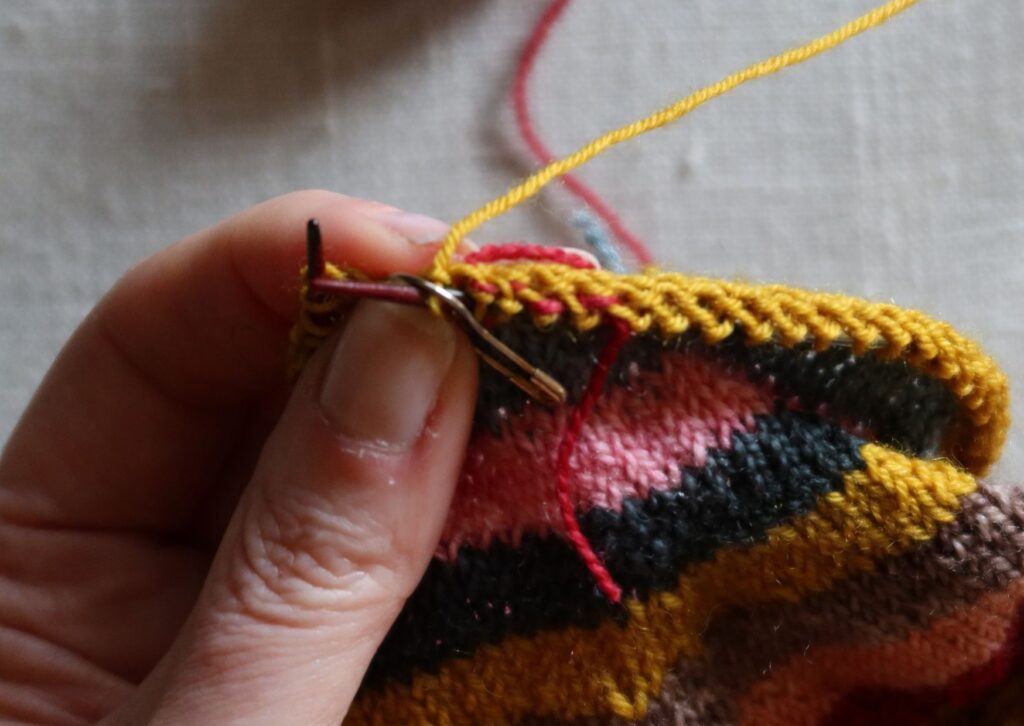
Steps 6 & 7 – Repeat Steps 4 & 5 once more. Over the final 5 stitches of the round, the incoming red yarn has been trapped down on the wrong side of the fabric and is not visible on the front.
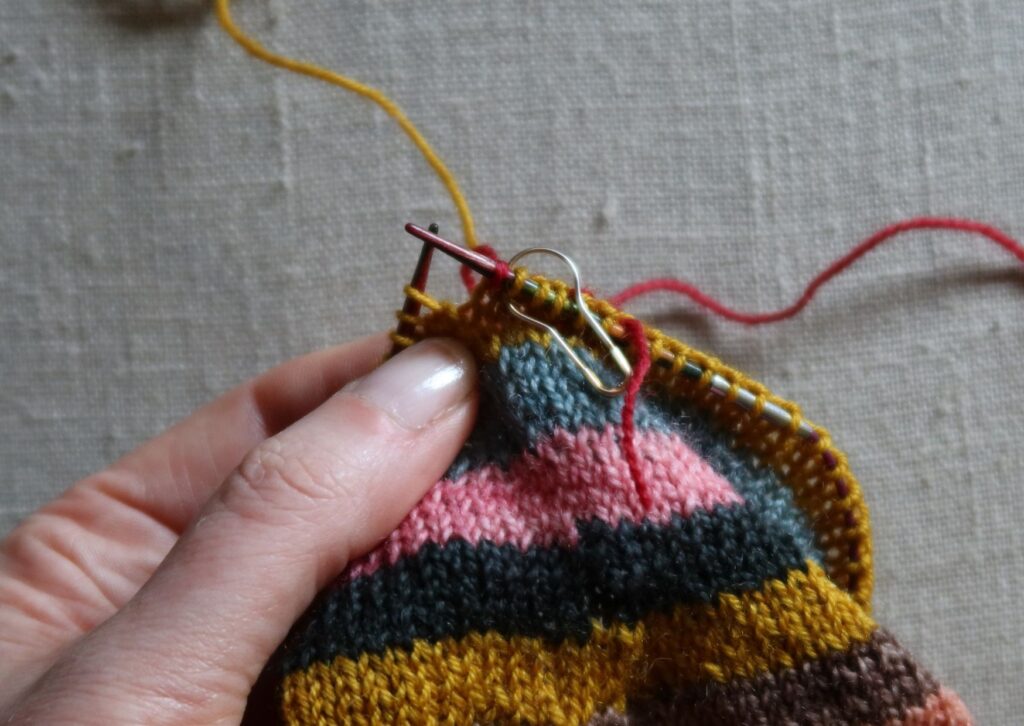
Step 8 – Knit the first stitch of the round in the new, ‘incoming yarn’ colour.
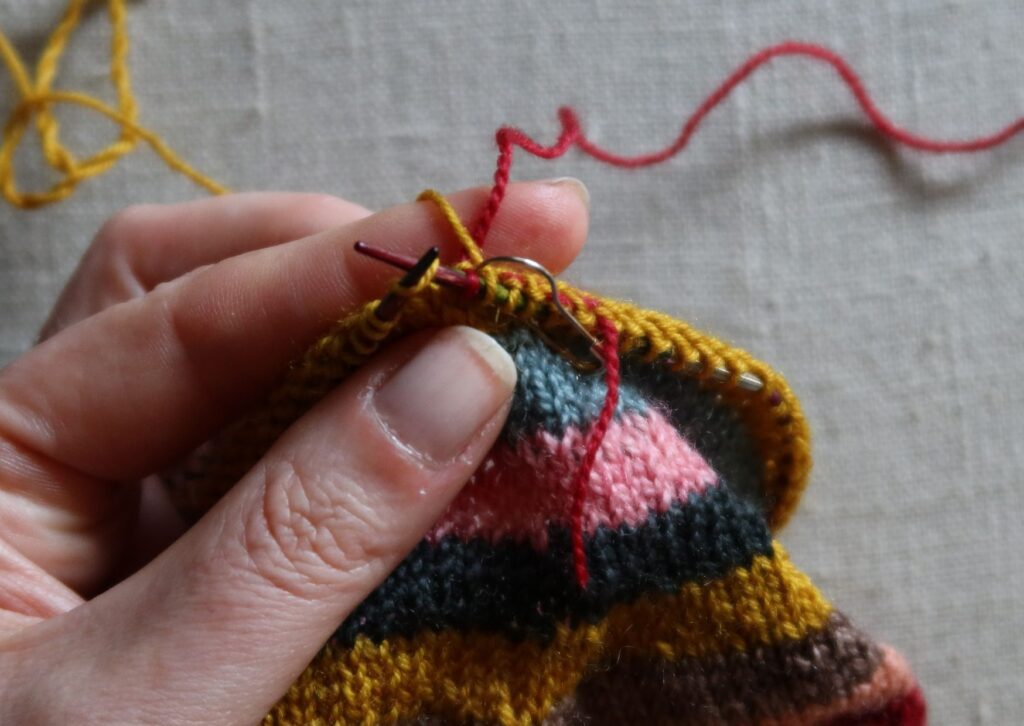
Step 9 – Place needle through next stitch ready to knit, bring outgoing yarn (yellow yarn) to the back of work, over the top of the incoming yarn and finish knitting the stitch.
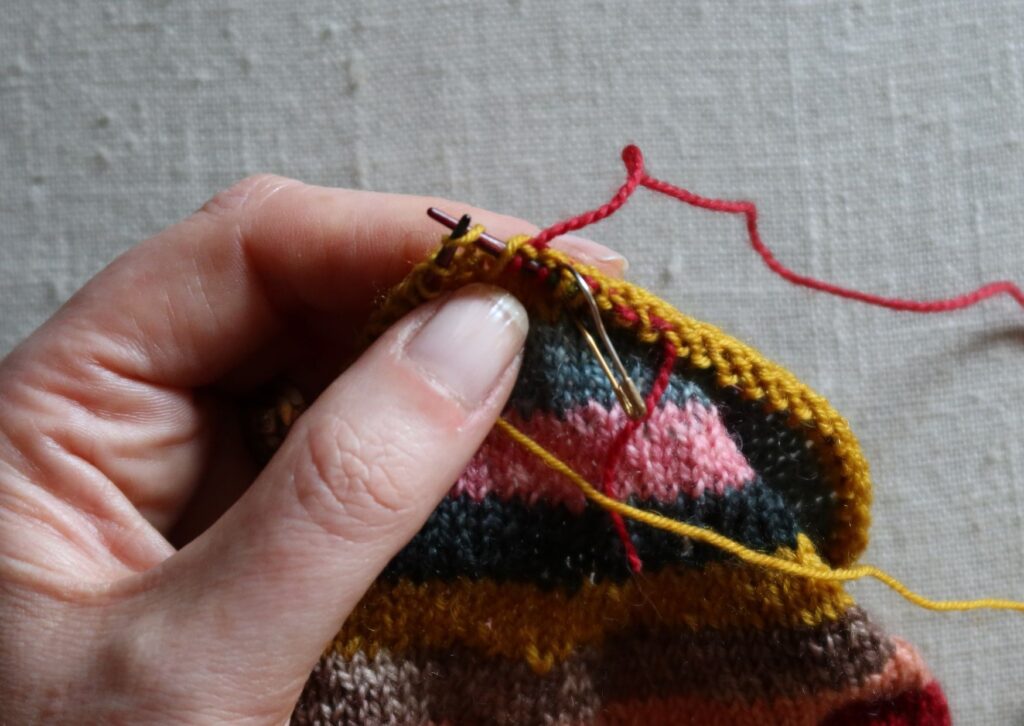
Step 10 – Place needle through next stitch ready to knit, bring outgoing yarn to the front of work, hold in place with your thumb, finish knitting the stitch.
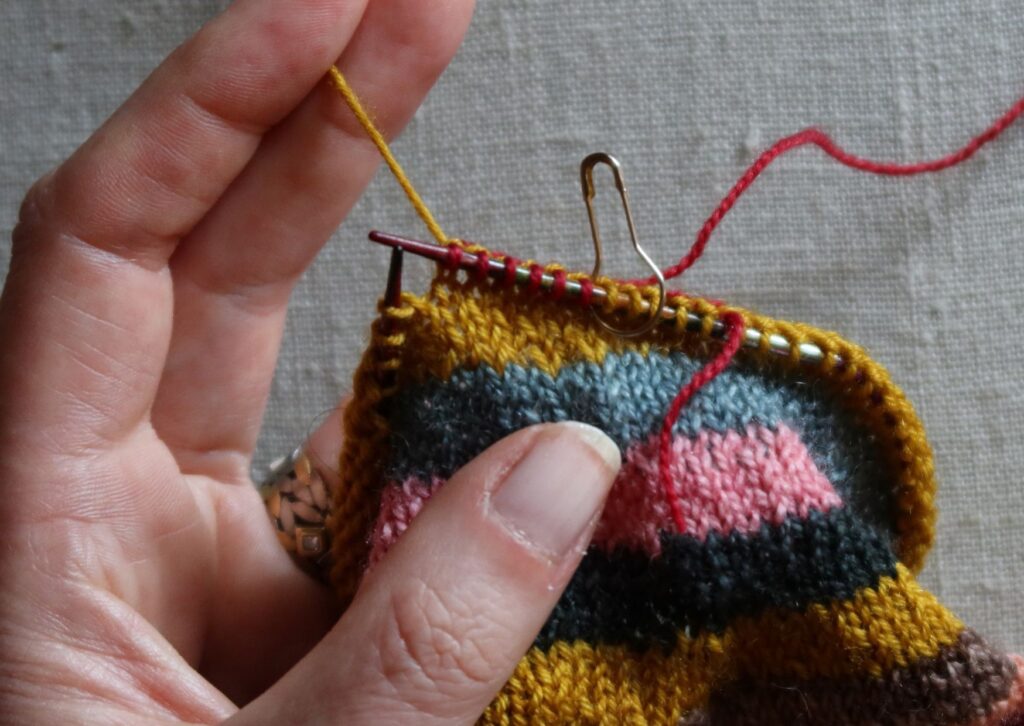
Steps 11 to 13 – Repeat this action moving yarn to back, front and then back again over the next 3 stitches. This should leave the outgoing yarn at the back and facing downwards on the 6th stitch of the round which helps to keep it out of the way when knitting the next round.
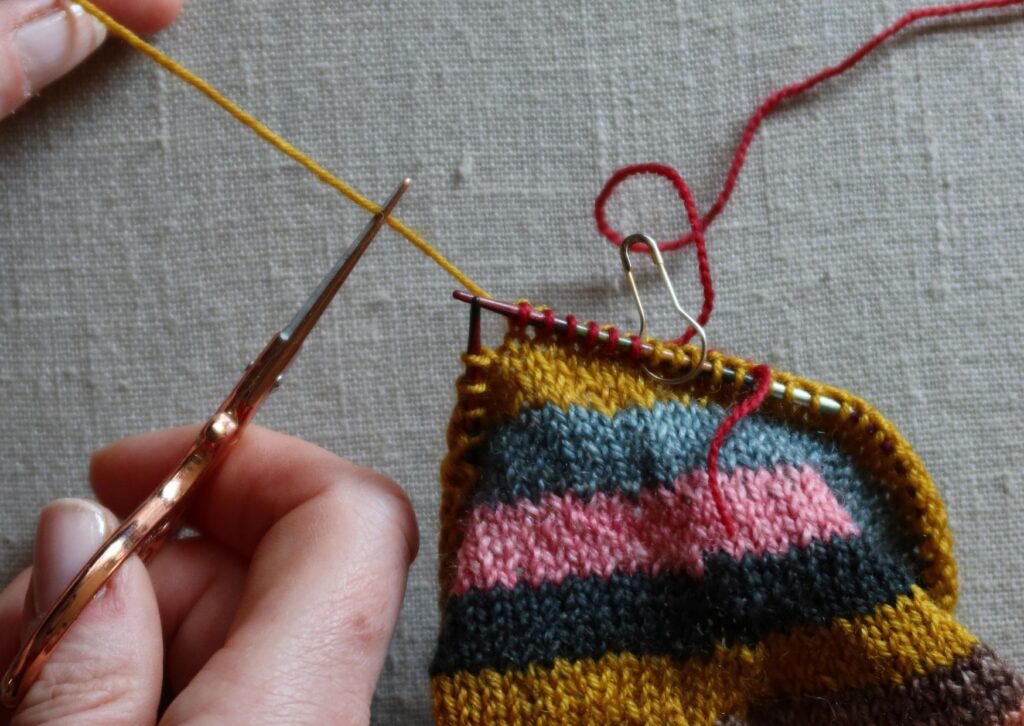
Step 14 – Cut the outgoing yarn leaving a 2.5cm/ 1″ tail. It can be helpful to knit a few more stitches in the new colour so you aren’t tempted to cut the wrong yarn (ask me how I know this!!!)
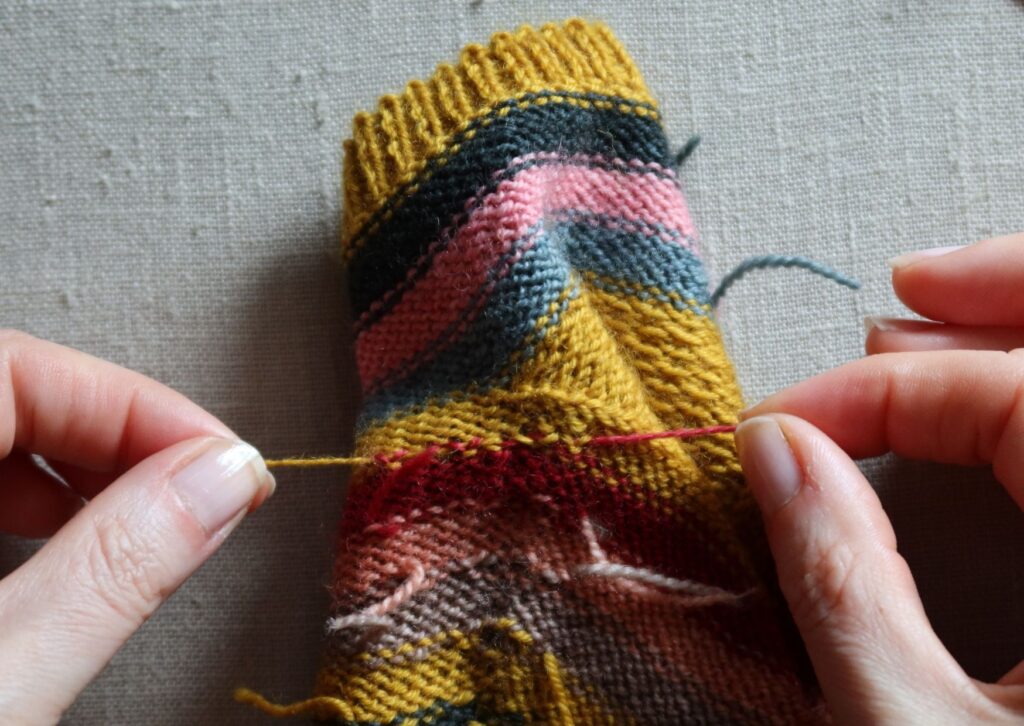
Step 15 – When you have finished your project, you can gently pull the incoming and outgoing yarn tails at the same time to make sure there are no gaps at the yarn change over point. Please don’t trim the tails further, the 2.5cm/ 1″ tails will felt into your project with use as you can see in the image below.
No Sew Colour Changes for Knitted Rows
This simple technique can also be used with rows of stocking stitch when the colour change is partway through a row. Below is an intarsia top where I used my no sew method to decrease the number of yarn bobbins I was having to manage.
There is one simple rule, which is to always make the change on the wrong side so that it remains invisible on the right side.
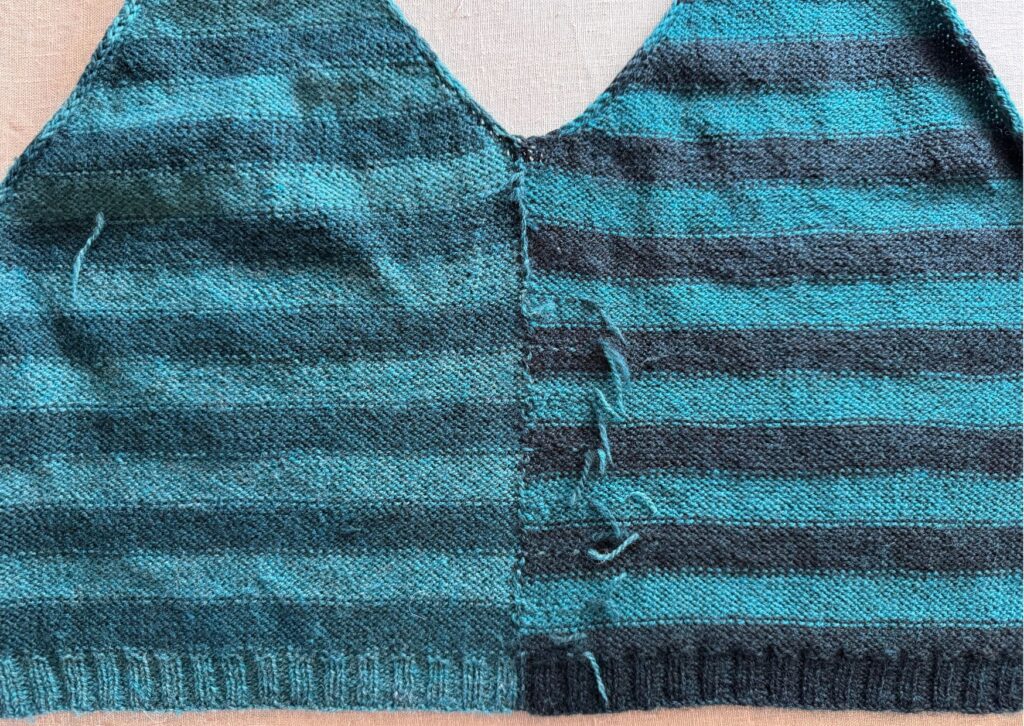
Sam method is used to add and remove yarn colours, but only on a wrong side row, and only in stocking stitch.
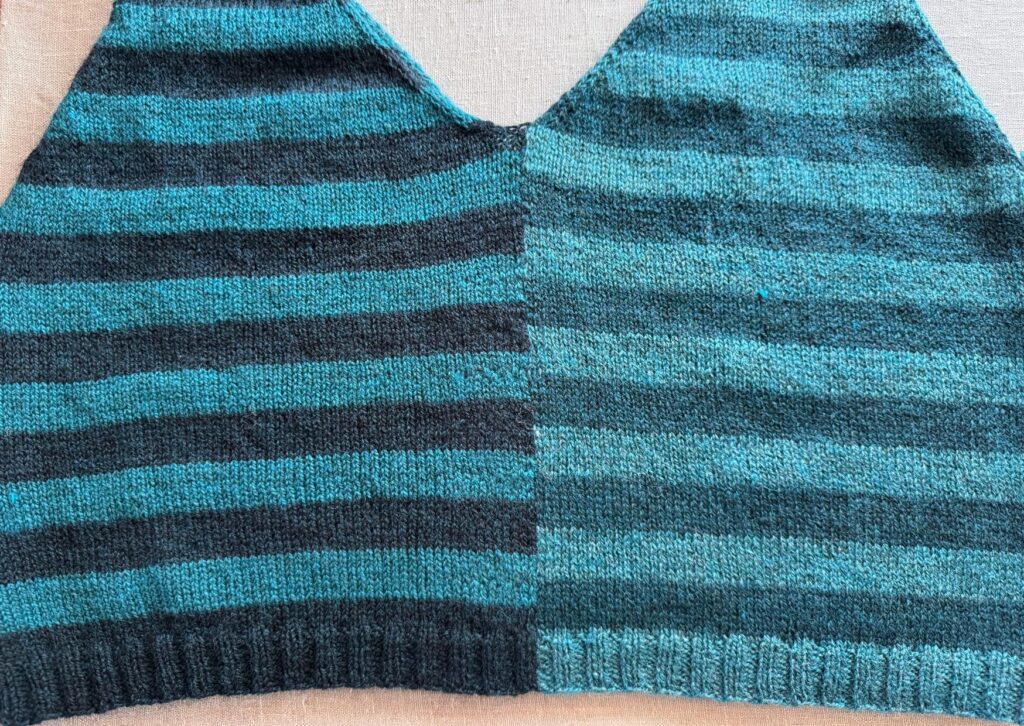
The colour changes cannot be seen on the right side of the fabric.
Is the ‘No Sew’ Colour Change Secure?
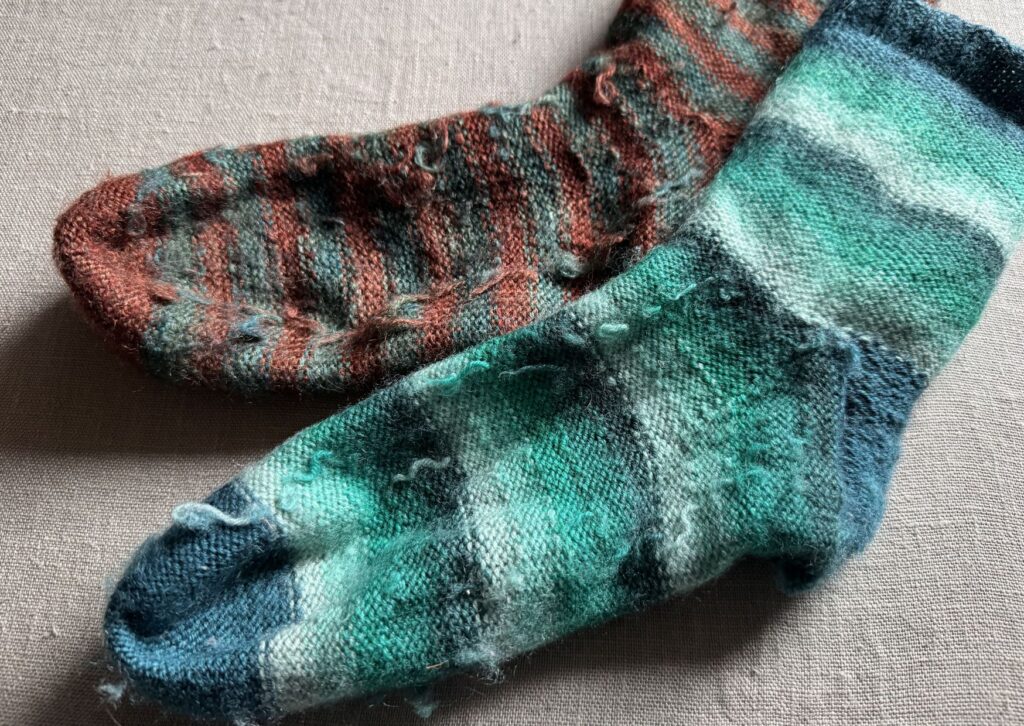
These socks have been in almost weekly use for over 8 years. They have been up many a Scottish mountain and my ‘no sew’ yarn colour change method has never failed me. Trust the process.
Prefer a Video Tutorial?
If you would prefer a quick video tutorial, I have one here.

Other Useful Tutorials?
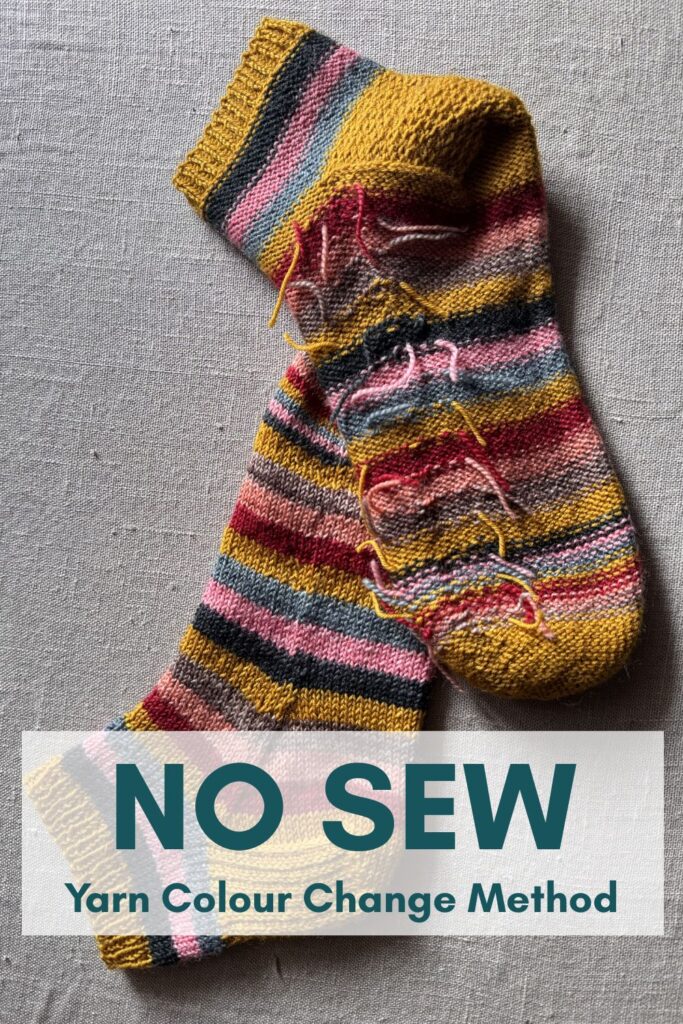
If you are using my ‘no sew’ yarn change method for colour stripes, it looks even better if you also use the technique in my ‘How to Knit Jogless Stripes’ blog posts. There is a step by step photo tutorial for jogless stripes here, and a video tutorial here.
Combined, these two sets of knitting colour stripe techniques will save you time and create flawless stripes.
Other Patterns You Might Like
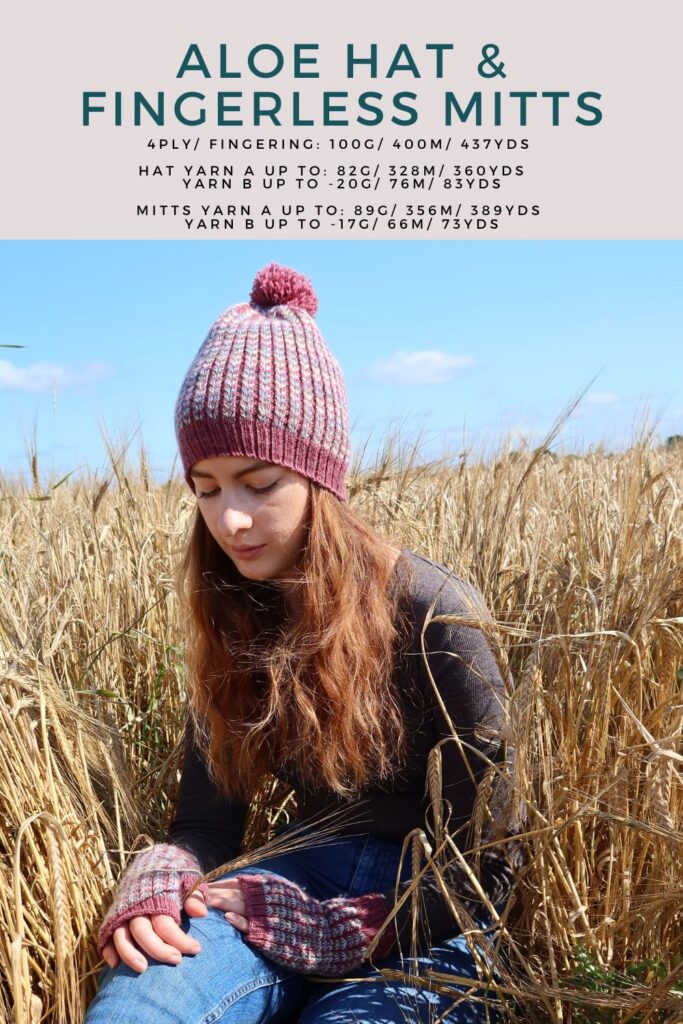
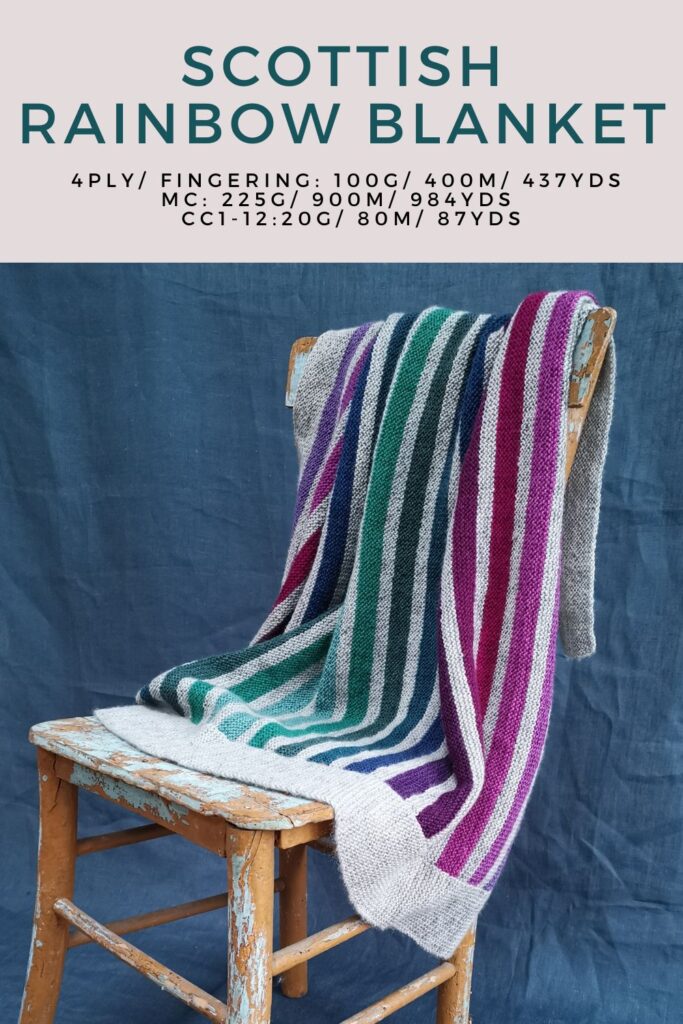
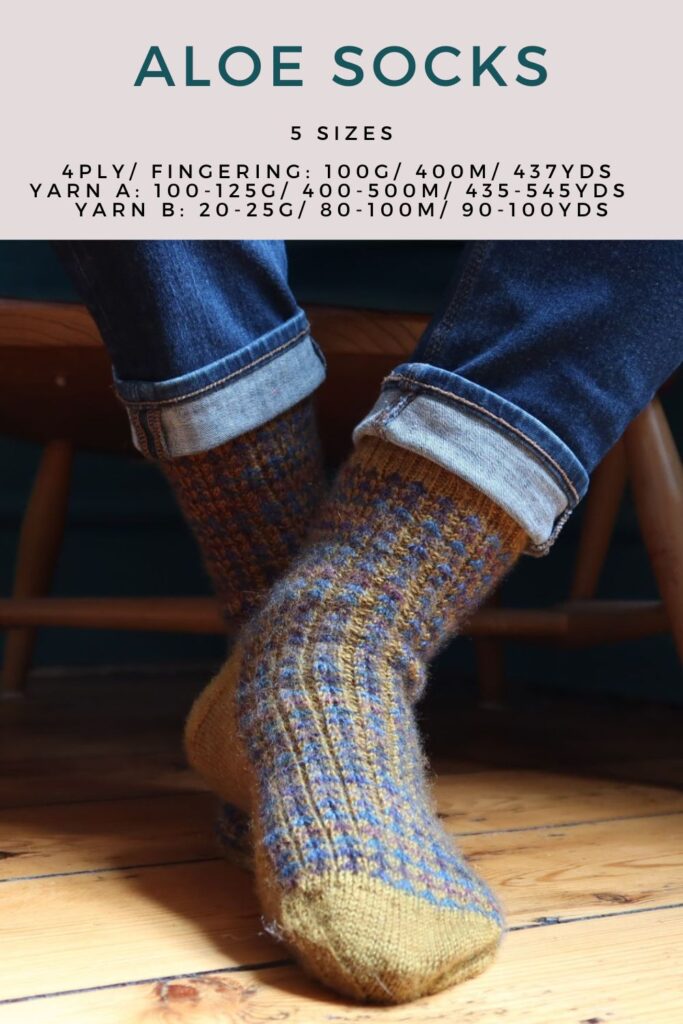
These patterns can all make use of this colour change technique.
Let’s Be Social
Let’s Be Social
I am usually found in these online places, or you can join my newsletter where I talk about all things yarn, crochet and knitting:
- YouTube crafting podcast and crochet/ knit tutorials– @faydhdesigns
- Pinterest – FayDHDesigns
- Instagram – @faydhdesigns
- Newsletter sign up


