Boucle yarn creates a warm, lightweight fabric when knitted up. If you haven’t yet knit with boucle yarn, here are my top tips to get the best results.
This blog post for tips for knitting with boucle yarn covers the following:
Some of the knitting with boucle yarn tips from above are also shared in this video:
1 – What is Boucle Yarn?
Boucle yarn usually has one uniform strand that is often made from cotton, nylon or alpaca to bring stability and durability to the plied yarn.
The second strand is often a looped or curled wool, alpaca, mohair or cotton that creates the interesting texture in the yarn. This looping creates a very warm, light fabric when knitted.
Some yarns marketed as ‘boucle’ are not looped or hooped but are very fluffy to create a textured yarn that is also light and warm when knitted.
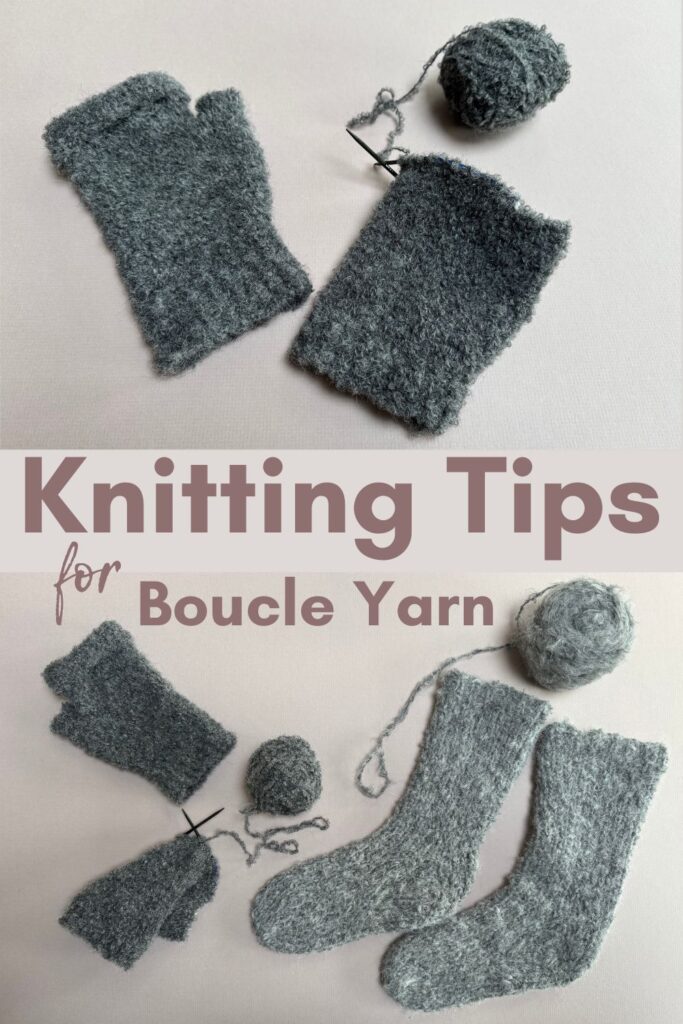
I am using both types in this blog post so you can see how well they both knit up. Head here to see which yarns I used and some other boucle yarn suggestions.
Boucle yarn is different from slub yarn which has a whole different texture. You can read more about slub yarns and crocheting with boucle in these posts:

2 – Boucle Yarn from Skein to Cake or Ball?
It is easy to use a yarn winder and swift to cake up boucle yarn. Just take it slowly so that the loops aren’t rushed through the metal loops.
I also enjoyed hand winding the yarns into balls. It made me aware of knotted joins on the Rowan Soft Boucle hank which lead me to test out spit splicing boucle yarn as part of this blog post.
3 – What Needle Size For Boucle Yarn?
For my loop boucle fingerless mittens, I used 3mm needles. The ball band suggested 5mm needles but my initial swatch wasn’t working for my chosen pattern and I wanted a denser fabric for toasty warm hands so moved down to 3mm needles.
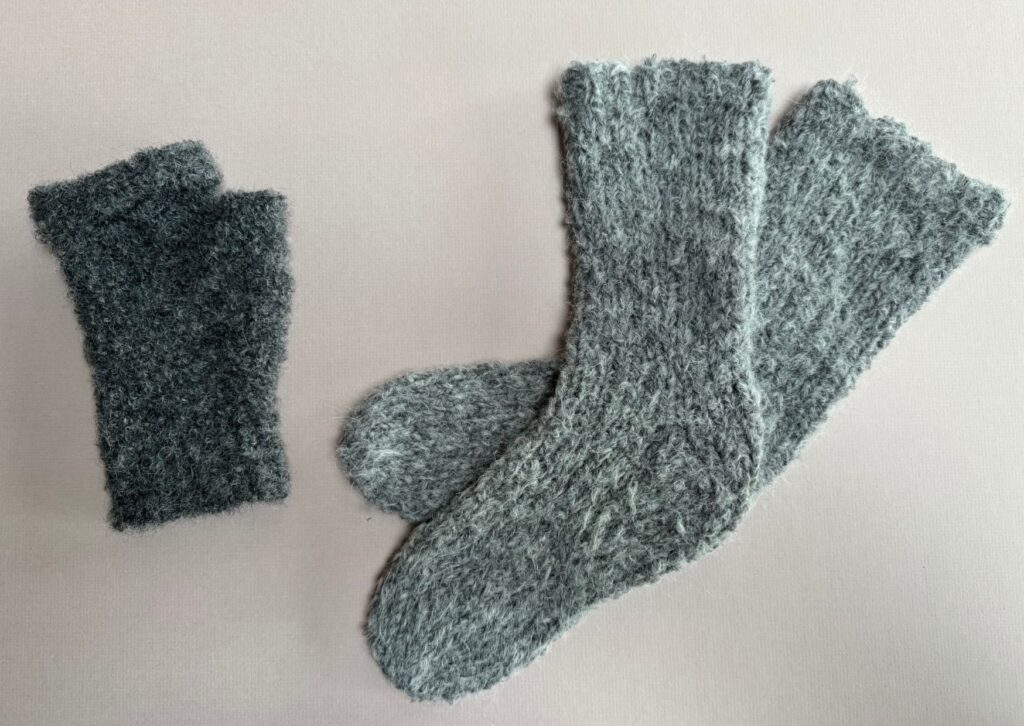
My soft boucle bed socks were made with 5mm needles rather than the 6mm needle size suggested on the ball band.
The initial swatch with 6mm needles was nice but I needed a thicker, more structured fabric for these bed socks. They are unbelievably soft and warm and there is a basic recipe for them at the end of the post.
If you want a denser fabric, move down needle sizes by 1mm and if you want a more open fabric, move up needle sizes and keep on playing until you get a fabric you love.
Using slightly blunt needles is helpful. Even blunt needles got caught on the loops and fluff of the boucle yarn I used. Sharp metal needles would make for very slow, annoying progress!
4 – Casting On With Boucle Yarn
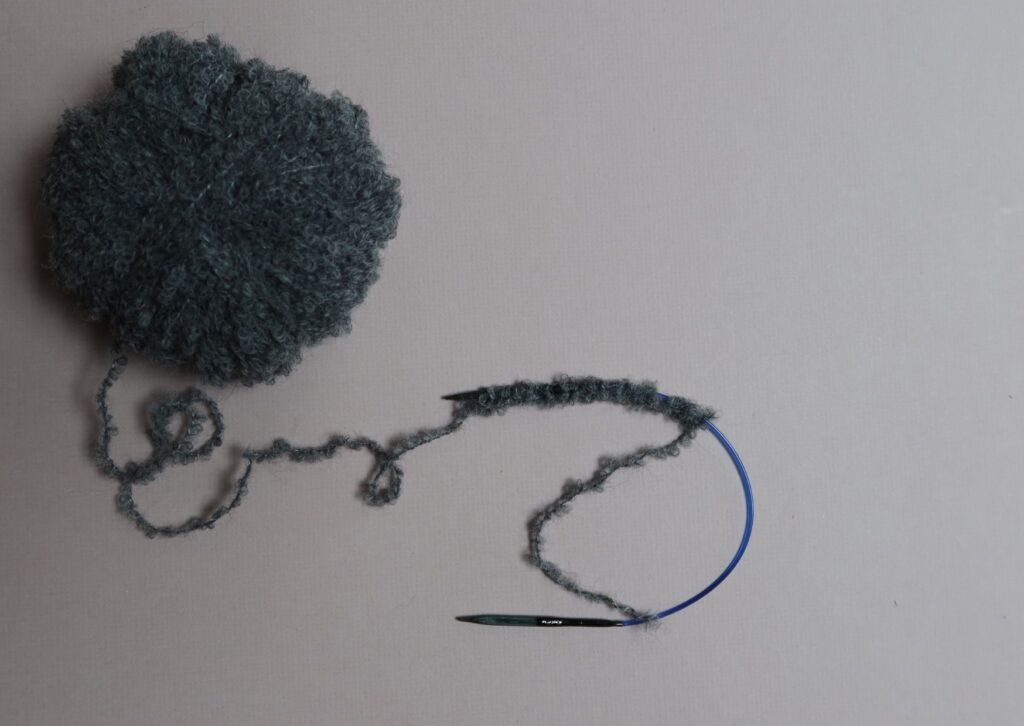
Let me be honest here, casting-on with boucle yarn will test your patience and not all boucle yarn is created equal. For both the loop boucle and the soft boucle, I tried to cast on using Jeny’s Stretchy Cast On – I clearly love a challenge!
It was fine with the loop boucle so long as I took my time and didn’t yank at the yarn. When I did yank at the yarn, the alpaca ply broke, leaving a very thin ply of nylon and I had to start the cast on again.
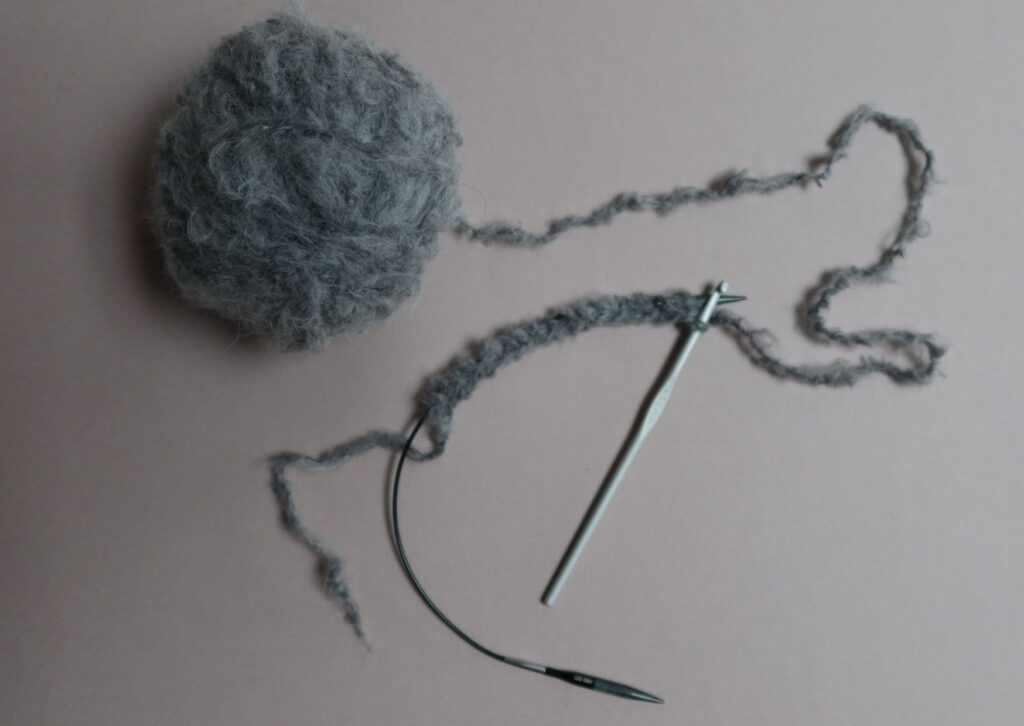
As for using Jeny’s Stretchy Cast On for soft boucle yarn? Just don’t do it! I wanted to throw it across the room multiple times.
If you don’t need a stretchy cast on, then a standard cast on will work with soft boucle yarn, just take your time with it.
However, I needed a stretchy cast on and resorted to a crochet cast on. It was much easier to do, especially when I swapped out to a smaller crochet hook size.
5 – Use Simple Stitches for Boucle Yarn
This is one of the most important tips for knitting with boucle yarn. Keep It Simple!
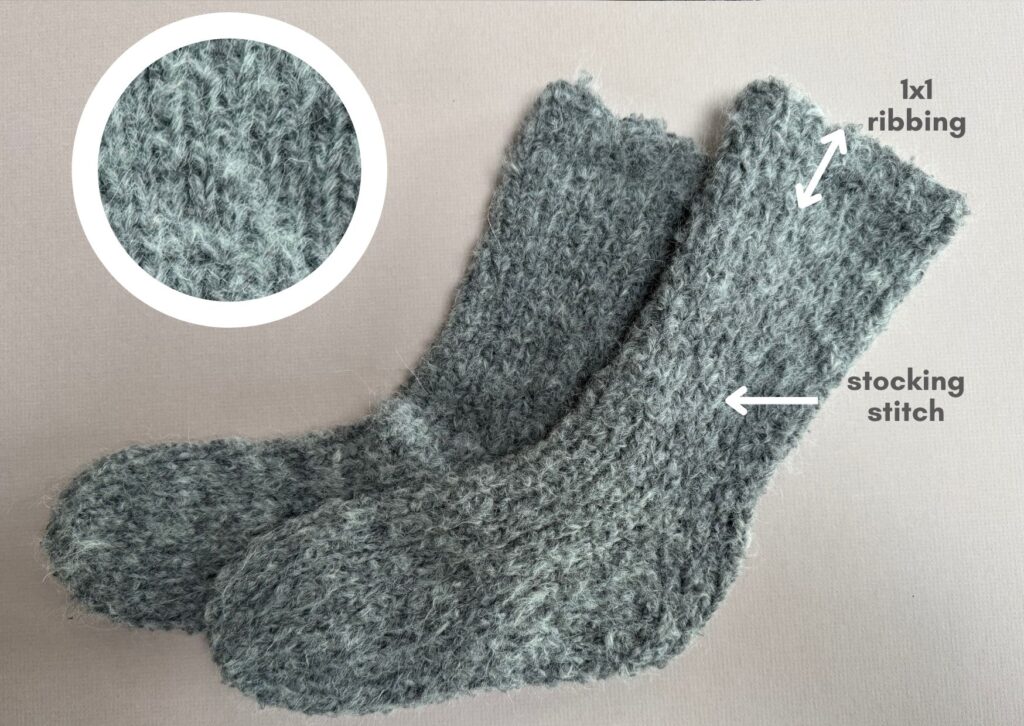
The texture of the yarn means that there is almost no stitch definition. You can see from the image below that with the soft boucle yarn you can sort of pick out knit stitches, but there is very little distinction between the stocking stitch parts of my sock and the 1×1 rib.
With the loop boucle yarn you cannot see the individual stitches at all because the yarn is so textured.
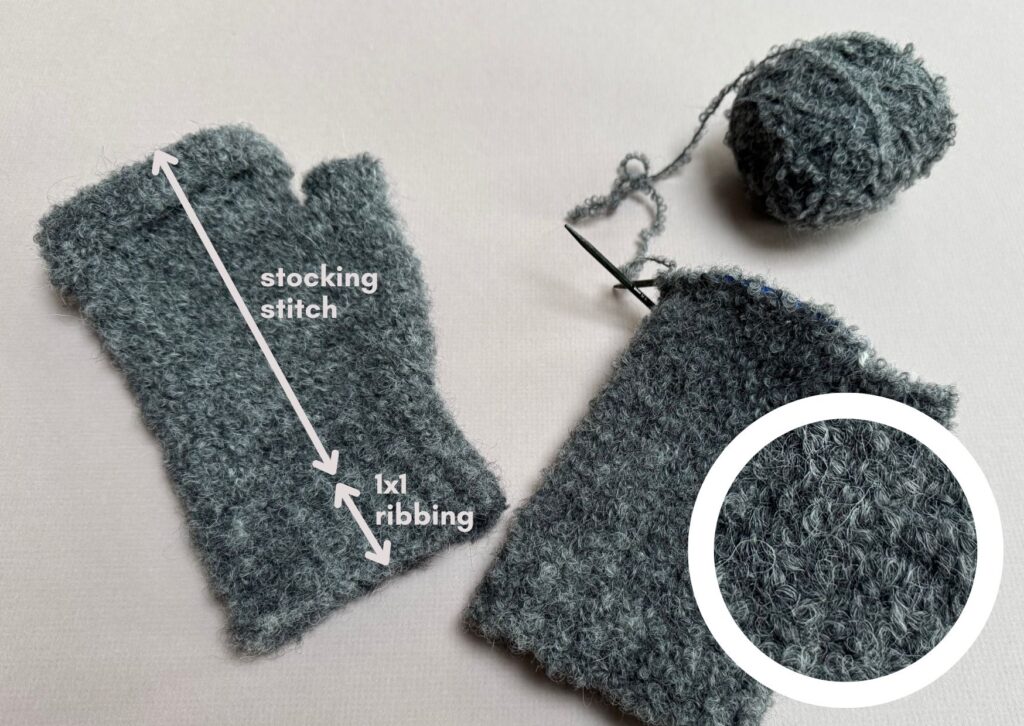
I truly believe there is little point in moving beyond stocking stitch with boucle yarn unless you are going to use much larger needles so that the texture of the yarn is given some negative space to work with.
It also worth noting that boucle ribbing doesn’t have that much elasticity. It’s fine for the bed socks and mittens I made, but unless you move down a few needle sizes, it isn’t likely to do much as a hat brim, sock cuff or garment rib.
6 – How to Identify Where the Next Stitch with Boucle Yarn
The nature of boucle yarn means that there is extra fibre or loops either side of what is the actual stitch. That can be a little confusing and make it look like you have more stitches than you do and makes knitting needle choice really important.
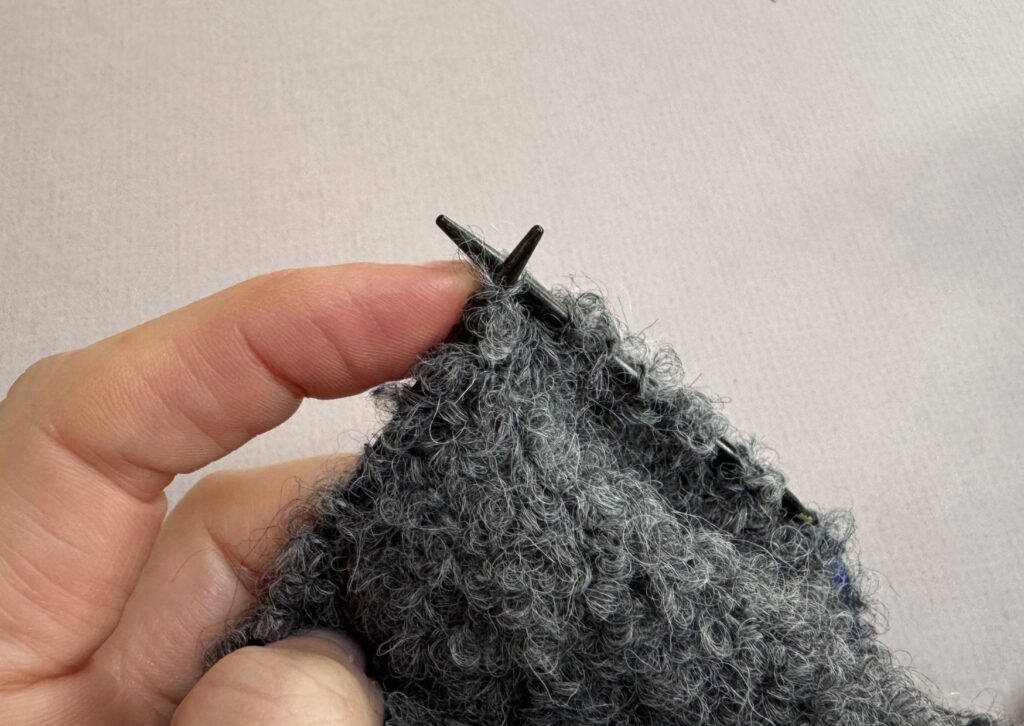
Boucle yarn always seems to have a ply that brings structure to the yarn. It is usually cotton, nylon or alpaca. When you are knitting with boucle yarn, you can use your forefinger to ‘feel’ for that ply. It feels different from the fibre or loops surrounding the stitch and that ply is the ‘true stitch’ that you need to place your needle through.
When your stitch is being made, pull the yarn loop up more than usual. This will help to make sure that your needle has actually gone through the stitch because you will feel it pulling through.
If there is too much resistance your needle has likely also snagged a loop or fibre and you should make that stitch again.
If there is too little resistance, you likely haven’t gone through the stitch and have poked your needle through fibre or a loop and you need to try again.
Pulling more yarn through each stitch also helps to open up your gauge, making it easier to knit into that stitch on the next row/ round.
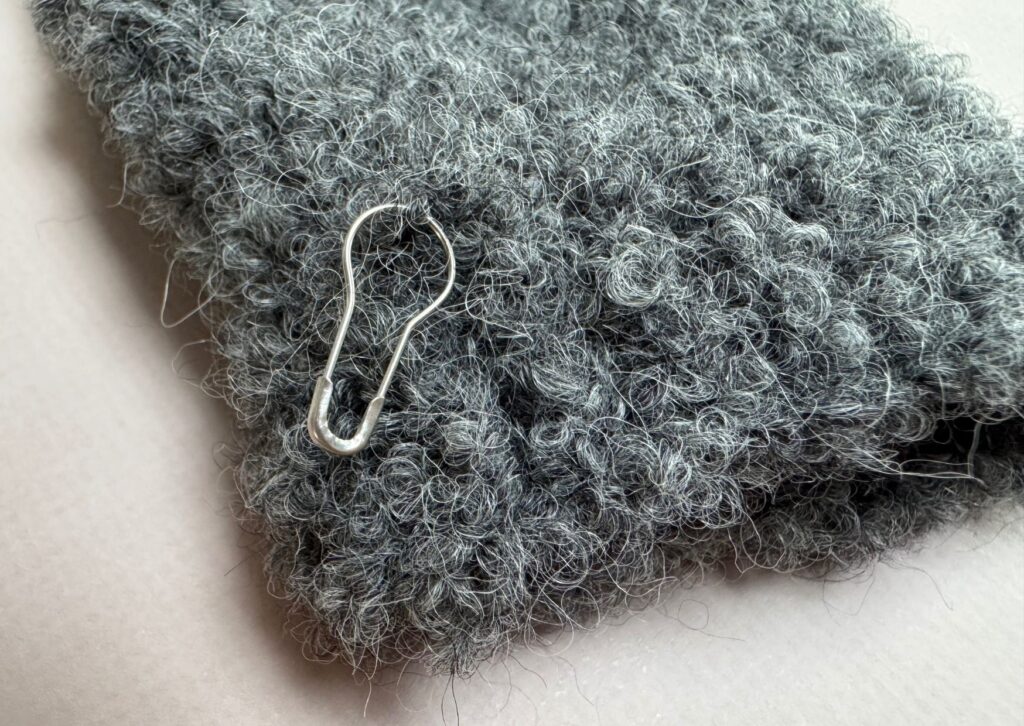
If you drop a stitch in boucle yarn, place mark it as soon as possible. A hole will form and it is really difficult to find the dropped stitch to rectify it.
I couldn’t see the bars to be able to fix this stitch. Instead I just secured it with yarn and wove it in on the wrong side. The texture of the yarn means that the dropped stitch will never be seen.
7 – Frogging Boucle Yarn
You would think that frogging boucle yarn would be impossible, but it isn’t! Here is what I found worked:
- Use your non dominant hand to stretch out the row/round that is being frogged. This will open up the stitch gauge and make frogging much easier.
- If the fluff of soft boucle makes frogging difficult, take time to gently pull the fibres apart with your finger nails. I didn’t have an issue with the loop boucle yarn, but the soft boucle definitely meshed together, making it more difficult to frog back.
- Don’t pull hard on the yarn. Although most boucle yarns have a strong cotton/ nylon/ alpaca ply, it can still be broken easily. Take your time and your knitted fabric should frog. The image below shows that my soft boucle yarn ply detached from itself and created a thin, single ply part of my yarn after frogging.

8 – Can you Spit Splice Boucle Yarn?
I did not have success spit splicing either of my boucle yarns. I expected it to work given that they both contain the natural fibres of wool and alpaca. Instead, weaving in ends is required for boucle yarns.

9 – Weaving in Boucle Yarn Ends
The beauty of boucle yarns is that weaving in ends is really easy! The crocheted fabric is so textured that your woven tail ends are never going to be seen, so you can do it quickly and with little regard for neatness – huzzah!
I would still stick to a 10cm/ 4″ tail end to weave end. It doesn’t need to be neat, but does need to be secure.
10 – Look after Your Hands & Nails
The loops and fibre in boucle yarn can have lots of fly-away bits that can catch on rough bits of nail or skin on your fingers.
Even though I thought my nails were smooth, I snagged two finger nails while pulling together the swatches for this and the slub yarn post.
Try to keep your nails trimmed and hands well moisturised when you are working with slub and boucle yarns.
11 – Where to buy Boucle Yarn
The yarns used for this post were:
- Drops Alpaca Boucle (50g/ 140m/ 153yds) which is a blend of 80% alpaca, 15% wool and 5% polyamide.
- Rowan Soft Boucle (50g/ 100m/ 109yds) which is a blend of 45% cotton, 23% alpaca, 22% wool and 10% polyamide.
Other suppliers I found on the internet with interesting blends were:
- Isager Boucle – this 100% alpaca boucle is high on my list to try!
- Mamie and Florrie – hand dyed merino boucle by Amy in Jumbo Boucle or in DK Boucle
- Cappybara Mohair Hoop Boucle yarn (75% Mohair, 20% wool, 5% nylon)
Boucle yarn can also be searched for on Etsy and eBay by using terms like ‘Boucle Loop’, ‘Boucle Hoop’, ‘Art Yarn’, ‘Textured Yarn’ or ‘Fancy Yarn’.
These search terms for boucle yarn can return results for some lovely vintage finds. I personally de-stashed some OG Rowan loop boucle British yarn a few years back and now regret doing so!
I often see vintage boucle yarns in my local charity shops too. Especially boucle yarns that are closer to the Rowan Soft Boucle, using mohair.

12 – Bed Socks in Boucle Yarn
This is more of a recipe for the boucle bed socks, rather than a pattern. I knitted them cuff down using the following stitch, round and row counts:
- Crochet cast on 28 stitches (for a 23cm circumference foot with 15% negative ease)
- 1×1 rib for 6 rounds
- 19 rounds stocking stitch
- (k2tog, knit 5) four times, to reduce evenly down to 24 stitches
- 24 rounds stocking stitch
- Slip stitch heel flap for 21 rows (over 12 stitches)
- Short row shaping set up for heel base > Sl1pw, p7, p2tog, p1, turn > sl1kw, k5, ssk, k1, turn > sl1pw, p6, p2tog, turn >sl1kw, k7, ssk
- Pick up 10 stitches either side of heel flap
- Standard gusset decreases
- Knit until 3cm from required sock length
- Toe decrease (k1, ssk, k6, k2tog, k1) repeat once more > knit 3 rounds > (k1, ssk, k4, k2tog, k1) repeat once more > knit 2 rnds > (k1, ssk, k2, k2tog, k1) repeat once more
- Graft both sets of 6 stitches together
13 – Fingerless Mittens in Boucle Yarn
I used The Wolrd’s Simplest Mittens by Tin Can Knits which is a free pattern. It is very easy to adapt to your own size and gauge and as fingerless rather than full mittens. Here is the recipe I created from their pattern:
- 38 stitches cast on
- 1×1 rib for 4.5cm
- Follow gusset increases rate given in pattern. I then continued with rounds of stocking stitch until mitten had an overall length of 14.5cm
- Follow pattern for setting aside thumb stitches and continue with palm stitches until overall mitten is 23cm. You may want a shorter mitten, I wanted to be able to create a turnover at the top.
- Cast off using a stretchy cast off
- Pick up thumb stitches and knit in stocking stitch for 8 rounds
- Cast off thumb stitches with a stretchy cast off
Want More Knitting Tips & Tricks?
Of course you do! I would start with these blog posts:
Let’s Be Social
I am usually found in these online places, or you can join my newsletter where I talk about all things yarn, crochet and knitting:
- YouTube crafting podcast and crochet/ knit tutorials– @faydhdesigns
- Pinterest – FayDHDesigns
- Instagram – @faydhdesigns
- Newsletter sign up


