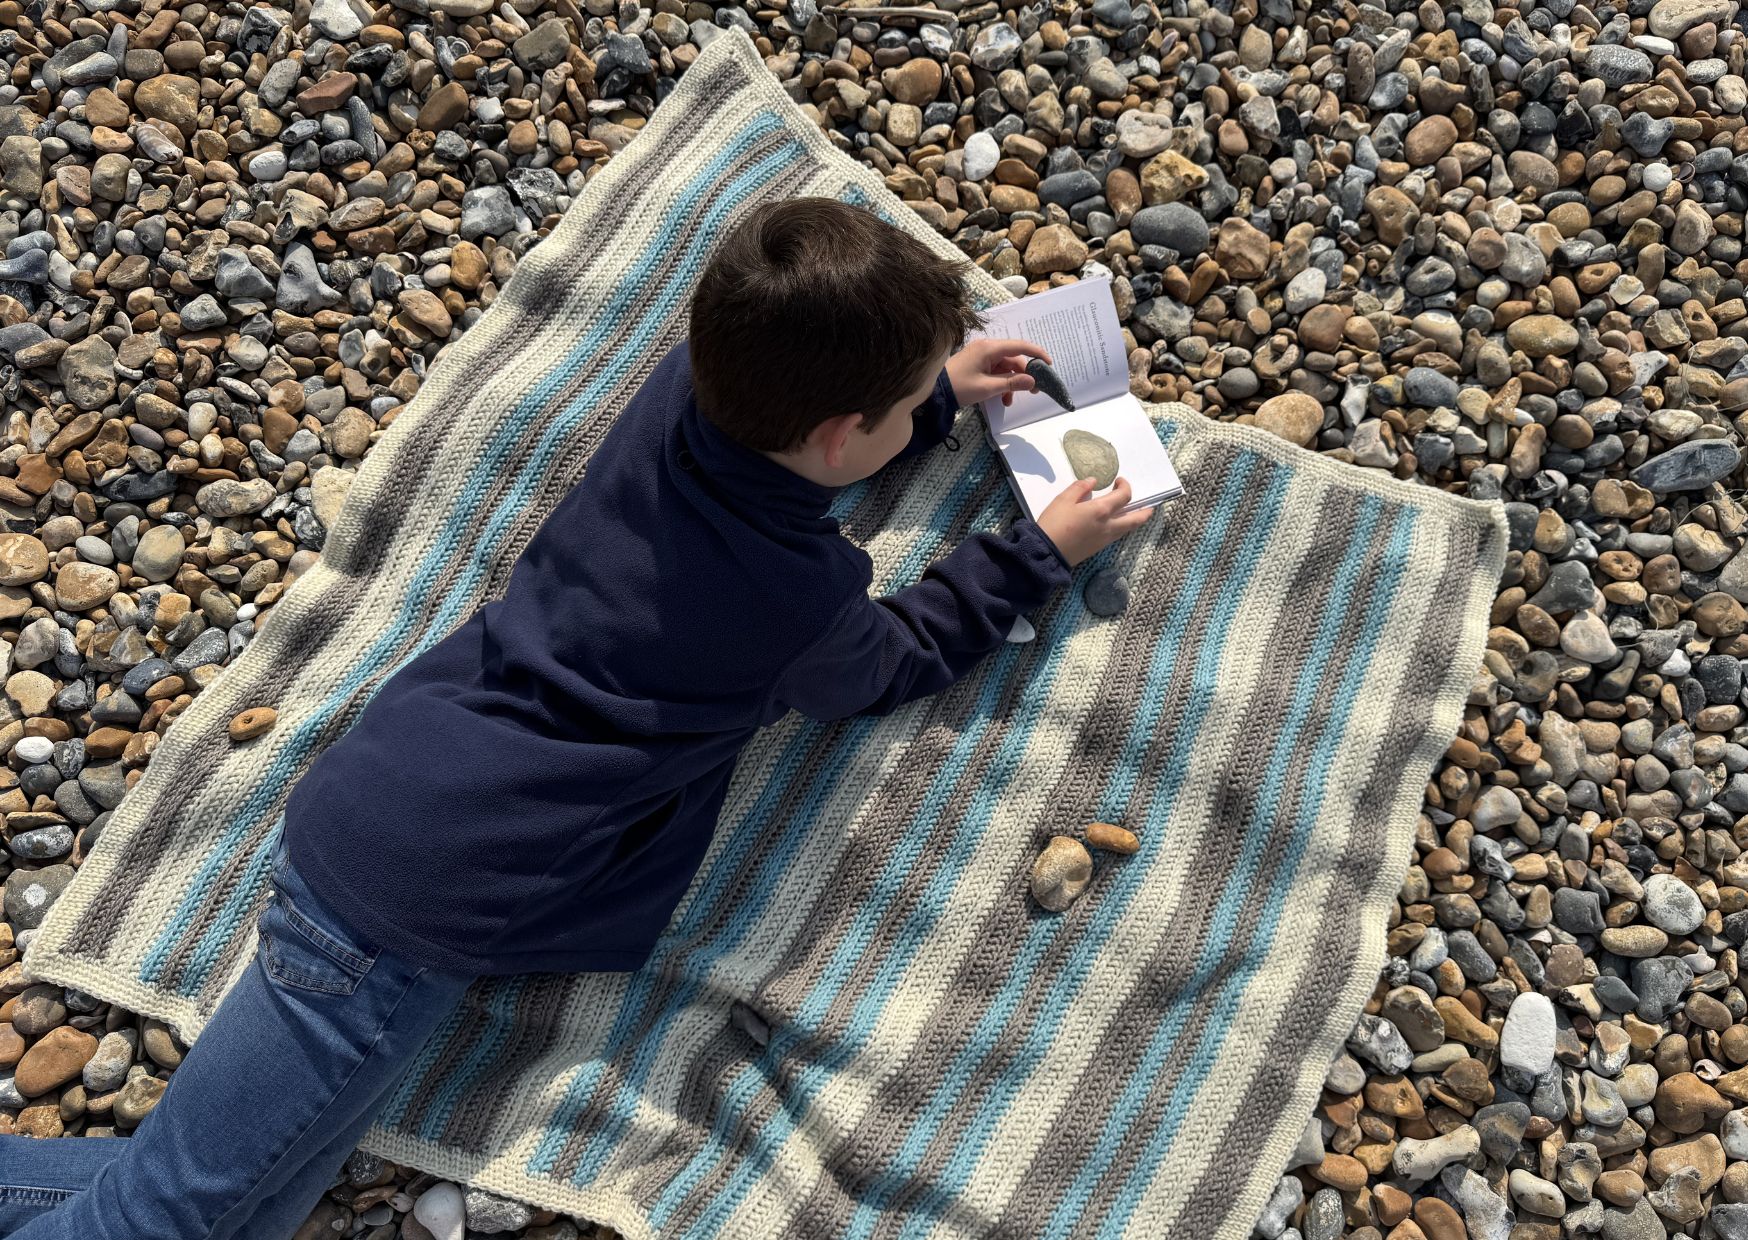
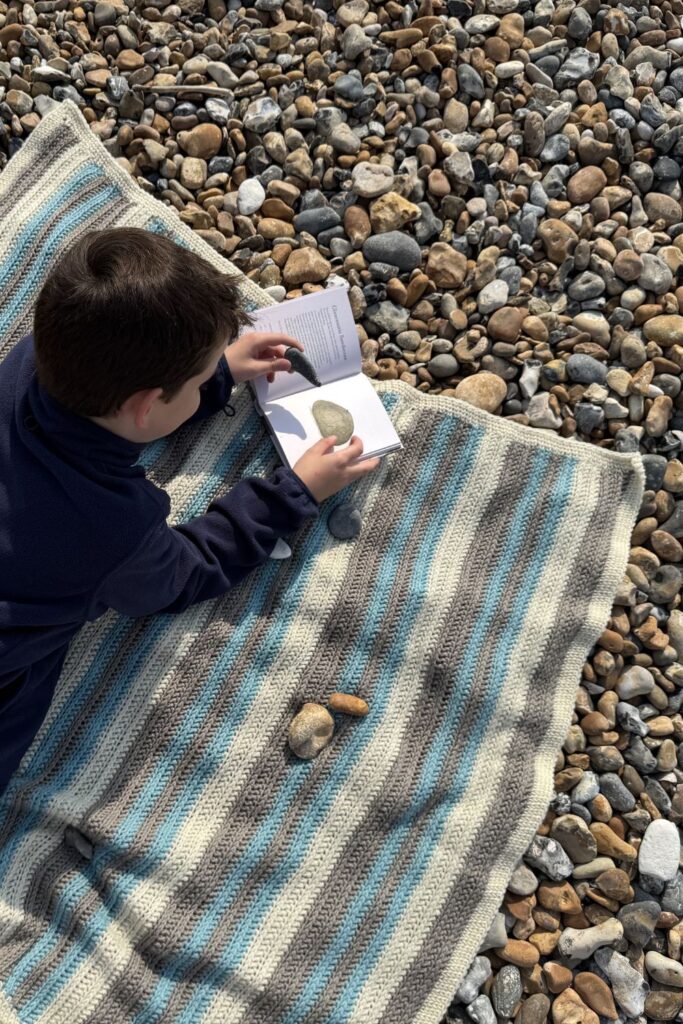
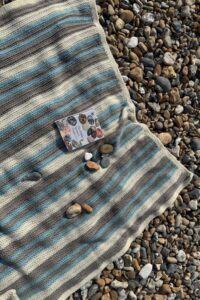
Pebble Spotter Blanket is quick to make, using just two main stitches, crocheted in rows before an easy border is added in rounds.
Made with three colours, it could just as easily be a scrap blanket or made in one colour to match your decor.
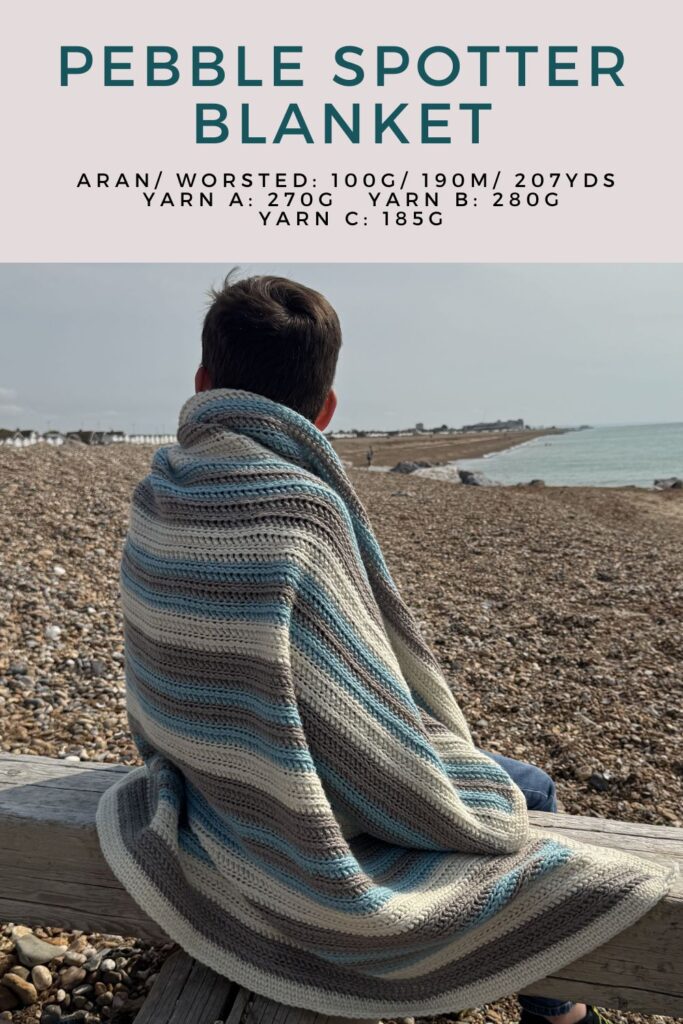
It’s the perfect size and weight for cosy winter snuggling in the house or blustery days down on the beach.
Click here to jump to the pattern support links.
Click here for my Safety Statement.
FREE Pebble Spotter Blanket pattern in UK terminology is available further down the page, or there are paid for options with patterns in UK & US crochet terms.
Pebble Spotter Blanket Pattern
Pebble Spotter Blanket can be quickly purchased using the ‘Buy now’ button below. This is from my Provenance Craft Co where you can buy printed or digital copies and I have ‘pay what you can’ options.
It can also be purchased on Etsy and Ravelry. Click on your preferred icon for more pattern details, or to purchase:


Finished Measurements
Blanket Dimensions: Blocked 112cm wide x 110cm high/ 44″ x 43.25″.
Tension/ Gauge
Tension/gauge: 13 sts and 10 rows (in pattern of alternating HBhtr/ dbl ss rows) over 10cm/4″ (blocked).
Materials Required
King Cole Wildwood Chunky, 100g/190m/207yds, 100% recycled wool.
Yarn A: 270g in shade Stone 5021 Yarn B: 280g in shade Snow 5020 Yarn C: 185g in shade Ice 5023
6.5mm hook (US K10.5) & 7mm hook for foundation chain
2 x place markers Tapestry needle Blocking equipment
Construction
Worked in rows. Border is then added in rounds of waistcoat stitch (can be swapped out for dc (US sc).
Stitches & Abbreviations
beg – beginning ch – chain cm – centimetre dbl ss – double slip stitch dc – double crochet (US single) ea – each g – gram HBhtr – Herringbone half treble crochet (US Herringbone half double) m – metre pm – place marker rem – remaining rep – repeat rnd(s) – round(s) RS – right side st(s) – stitch(es) starting dc – starting double crochet (US starting single) starting htr – starting half treble crochet (US starting half double) wc – waistcoat stitch WS – wrong side yds – yards yrh – yarn around hook ” – inches
Special Stitches
Starting htr: extend loop a little and make a dc. Hook through left leg of dc just made (this is the leg at the front of your work, not the top of the stitch where you would normally work into) then yrh, pull up a loop (2 loops on hook), then yrh, pull through both remaining loops. This alternative to turning chains gives a neater and more elastic edge to your work.
HBhtr: yrh, insert hook into next st, yrh and pull up a loop (3 loops on hook), pull last loop (closest to hook) through second loop (2 loops on hook), then yrh, and pull through both remaining loops.
Dbl ss: Place hook through first st, then yrh, pull up a loop (2 loops on hook), place hook through next st, yrh and pull up a loop (3 loops on hook), pull last loop through other 2 loops on hook to finish st. Next double ss uses last st just used for first part of st. Rep to end of row, finish with a dc in final st (same one that your hook was last through).
Starting dc: extend loop a little and make a dc.
Wc: similar to a double crochet, but hook is placed through V at front of stitch and out through upside down V at back, instead of under front and back loops on the top of stitch.
Notes
Pattern conventions: The pattern is set up for right-handed users. I place my yarn over the hook (not under) as I create stitches throughout this pattern.
Back Bumps/ third loops: A chain is made up of the front and back loops that sit on the top and a third loop that sits on the bottom. To work a back bump/ third loop, turn the foundation chain upside down and place your hook under that third loop.
Colour changes: These are always made on the final yrh of the st before the new colour is required.
Invisible join: thread yarn onto tapestry needle. Skip first st of rnd and place needle from front to back through both loops of 2nd st, pull yarn so it sits on top of front loop of skipped st. Place needle from front to back through back loop of last st of rnd, pull yarn so it sits on top of back loop of skipped st. The sewn join should match the tension of the two sts either side. Turn to WS and weave in end, sewing in same direction of your crocheted rnds to keep tension on the join.
Helpful tutorials for Pebble Spotter Blanket
If you are new to some of the crochet stitches used in the Pebble Spotter Blanket, here are some tutorials to help you make them:
- Starting half treble crochet (US starting half double crochet) – click here for a video tutorial OR here for a photo tutorial
- Herringbone Half Treble Crochet (Herringbone Half Double Crochet US) is here as a video tutorial, OR here as a photo tutorial.
- Double slip stitch – click here for a video tutorial, OR here as a photo tutorial.
- Changing Yarn Colours tutorial
- Waistcoat stitch – click here for a video tutorial, OR here as a photo tutorial.
- Invisible Join – click here for a video tutorial, OR here as a photo tutorial.

Pebble Spotter Blanket Pattern
Using larger hook and Yarn A, make 140ch.
Change to smaller hook.
Row 1 (RS): beg in first ch from hook, starting htr in back bump of foundation ch, pm (move up ea row), 1HBhtr in back bump of ea foundation ch to end, turn. 190 sts
Row 2 (WS): 1dbl ss, pm (move up ea row), dbl ss to end, 1dc in final st just used, turn.
Pattern Row Repeat
Row 3: starting htr, HBhtr to end, turn.
Row 4: dbl ss to end, 1dc in final st just used, turn.
Rep Rows 3 & 4, changing colours according to the row numbers and colour blocks given below, or in table on Page 6 (read “Colour changes” in Notes section). Change to Yarn B on final st of Row 106, ready for Border rnds.
Rows 5-8: Yarn B
Rows 9-10: Yarn C
Rows 11-12: Yarn A
Rows 13-14: Yarn C
Rows 15-18: Yarn A
Rows 19-22: Yarn B
Rows 23-24: Yarn C
Rows 25-26: Yarn A
Rows 27-28: Yarn C
Rows 29-32: Yarn A
Rows 33-36: Yarn B
Rows 37-38: Yarn C
Rows 39-40: Yarn A
Rows 41-42: Yarn C
Rows 43-46: Yarn A
Rows 47-50: Yarn B
Rows 51-52: Yarn C
Rows 53-54: Yarn A (Rows 53-54 are the halfway point).
Rows 55-56: Yarn C (Note the colour block change at this point).
Rows 57-60: Yarn B
Rows 61-64: Yarn A
Rows 65-66: Yarn C
Rows 67-68: Yarn A
Rows 69-70: Yarn C
Rows 71-74: Yarn B
Rows 75-78: Yarn A
Rows 79-80: Yarn C
Rows 81-82: Yarn A
Rows 83-84: Yarn C
Rows 85-88: Yarn B
Rows 89-92: Yarn A
Rows 93-94: Yarn C
Rows 95-96: Yarn A
Rows 97-98: Yarn C
Rows 99-102: Yarn B
Rows 103-106: Yarn A. Change to Yarn B on final st of Row 106, ready for Border rnds.
Border
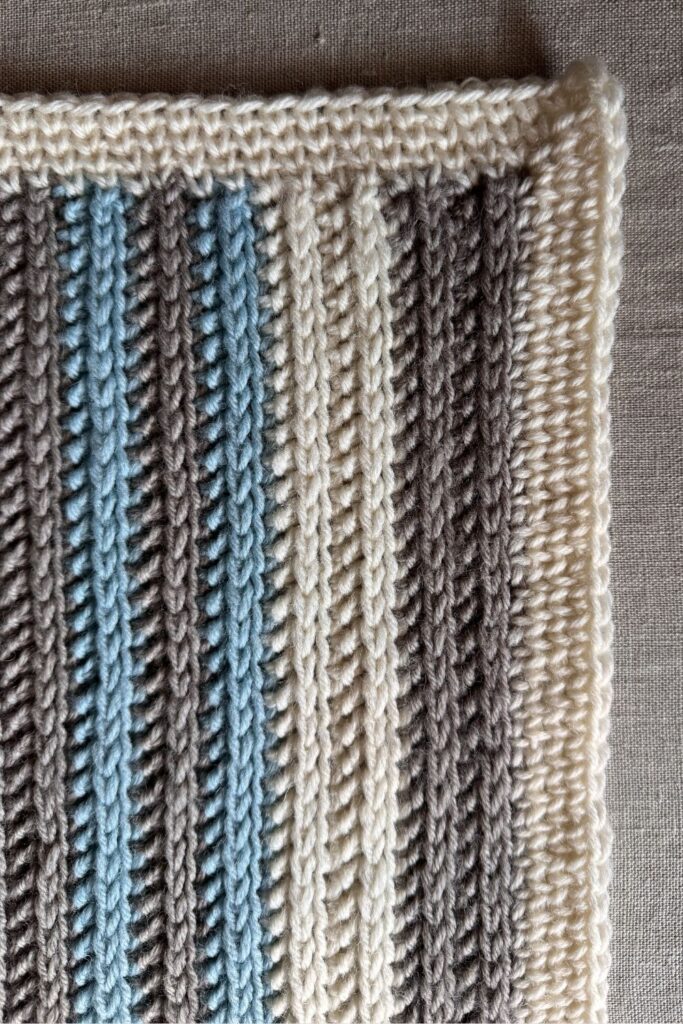
Continue with Yarn B and change to larger hook. See images at top of blog post for how border rnds look.
Rnd 1 (RS): starting dc, pm as beg of rnd (move up ea rnd), dc to end of row, 2ch (pm as corner ch-sp and move up ea rnd), rotate blanket 90°, 1dc in side of ea row, 2ch (pm as corner ch-sp and move up ea rnd), rotate blanket 90°, 1dc in ea foundation ch, 2ch (pm as corner ch-sp and move up ea rnd), rotate blanket 90°, 1dc in side of ea row, 2ch. 500sts
Rnd 2: starting wc (this joins Rnd 1 and starts next rnd), *wc to next pm, (1wc, 2ch, 1wc) in ch-sp; rep from * another 3 times. 508sts
Rnd 3: starting wc, *wc to next pm, (1wc, 2ch, 1wc) in ch-sp; rep from * another 3 times, 1wc in final st. 516sts
Rnd 4: starting wc, *wc to next pm, (1wc, 2ch, 1wc) in ch-sp; rep from * another 3 times, 2wc. 524sts
Cut yarn leaving a 10cm/ 4″ tail. Use the Invisible Join method to neatly close the round, using beg of rnd pm for needle placement guidance and weave in the end.
Finishing
Spritz or steam block your blanket if desired and then weave in remaining ends.
Join me on Instagram
Nothing makes a designer’s heart flutter more than seeing someone take the time to purchase their pattern and make their design.
I would LOVE to see your Pebble Spotter Blanket works in progress and finished projects. Share your crochet journey with me over on Instagram @faydhdesigns and use #PebbleSpotterBlanket #FayDHDesigns
Let’s Be Social
I am usually found in these online places, or you can join my newsletter where I talk about all things yarn, crochet and knitting:
- YouTube crafting podcast and crochet/ knit tutorials– @faydhdesigns
- Pinterest – FayDHDesigns
- Instagram – @faydhdesigns
- Newsletter sign up


